|
Welcome to this little IrFanView Tutorial designed to let you improve the quality of covers!
I'm giving away all the tricks I've been using all these years to try to fix/improve the covers received:
- Non-aligned (trapezoid shape, rotated) pictures
- Non-square pictures
- Colours unnatural/unbalanced (usually shot with artificial light)
- Image Size
- File Size
IrFanView (Windows only) has a solution for each of these problems, using one or several tools it provides.
Let's go one step at at time.
Correcting Perspective
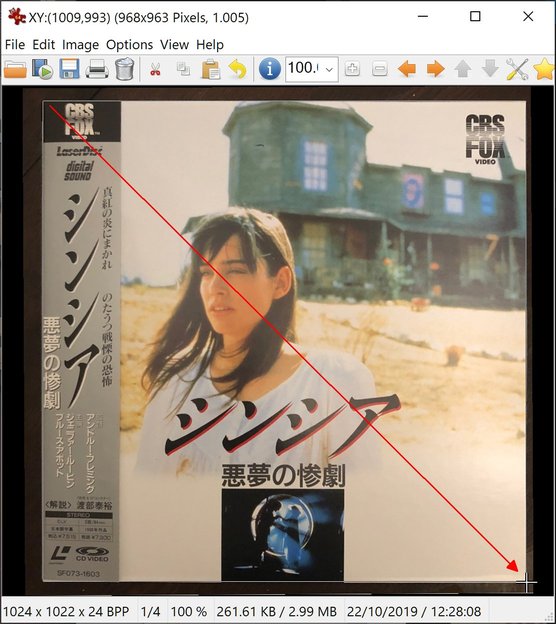
I received this cover today and it looked already quite good but could be improved in several ways.
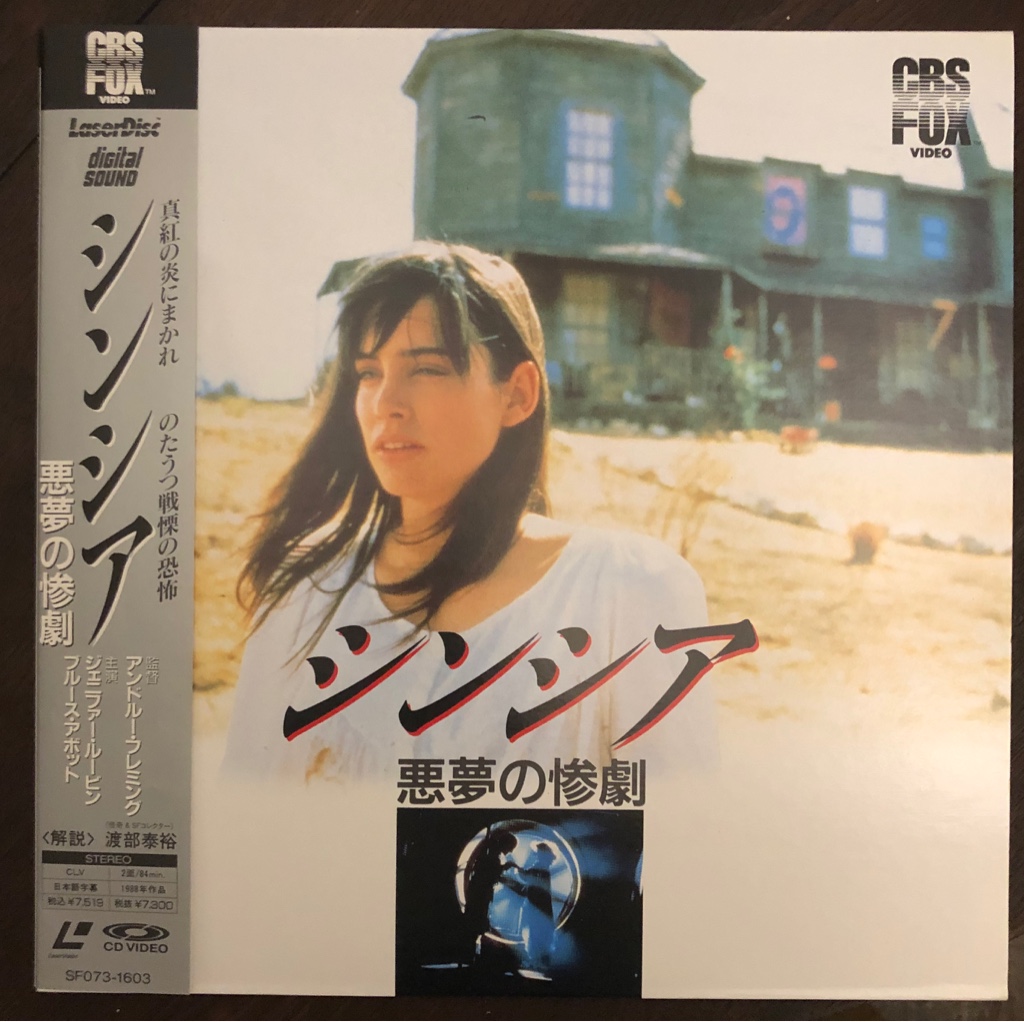
Let's load it up in IrfanView.

Right now the size is 1024x1022 (above the standard 800x800) and the file size is 262KB (above the 150KB usual limit).
There are also black areas around the cover we'd like to trim and the alignment is not a perfect square.
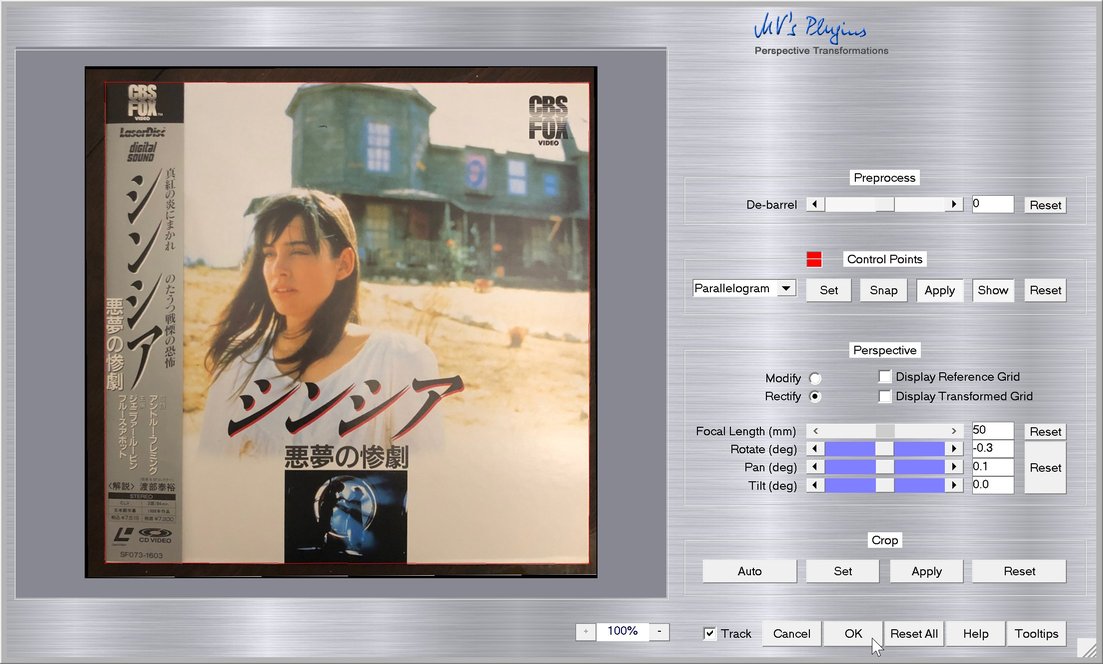
Let's try to improve the alignment via perspective correction. Select: Image => Adobe 8BF Plugins => Perspective Transformations

We are now in Martin Vicanek's Perspective Transformation Plugin, Increase or decrease the preview size as needed.
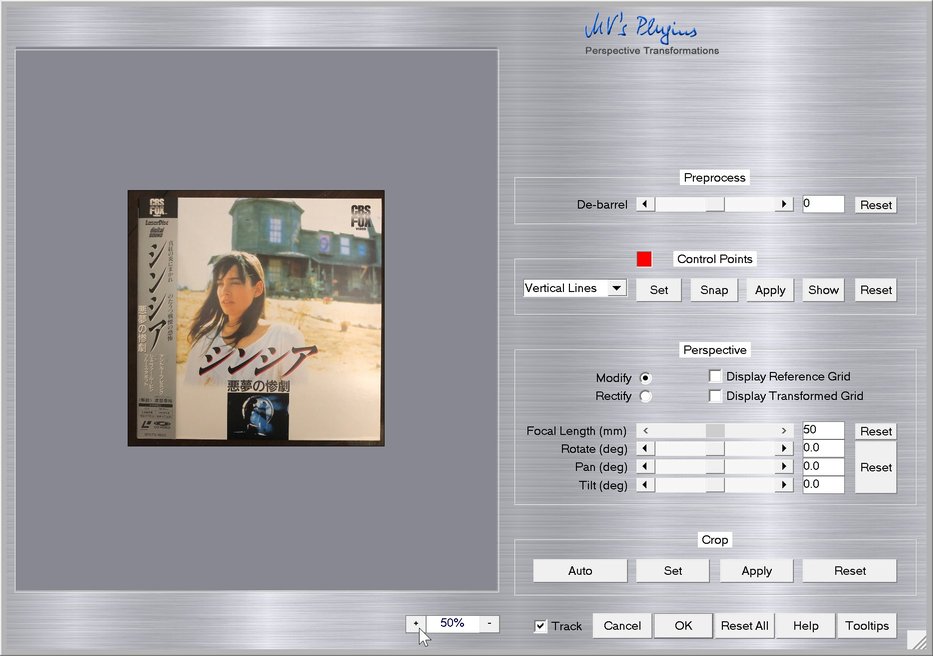
OK, the picture preview is big enough to work comfortably now, select Rectangle mode in the Control Points.

Then click on Set.

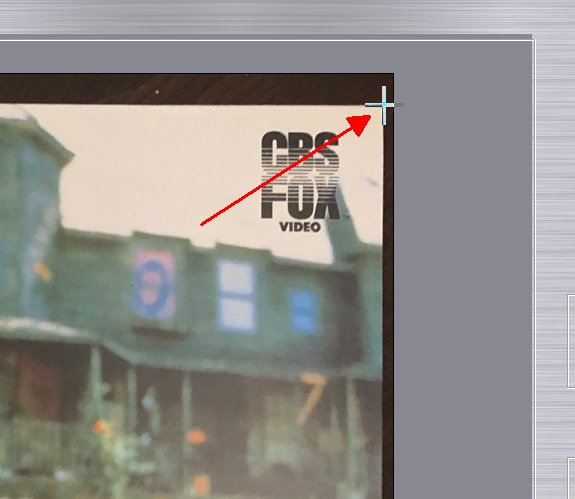
Now you're going to have to click on each corners' extremity one by one, going either clockwise or counter-clockwise. Example: Top-right corner
Bottom-right corner, note the RED LINE appearing between the first 2 points.

Bottom-left corner

Top-left corner, the trapezoid in red lines is now complete. Click on Apply.
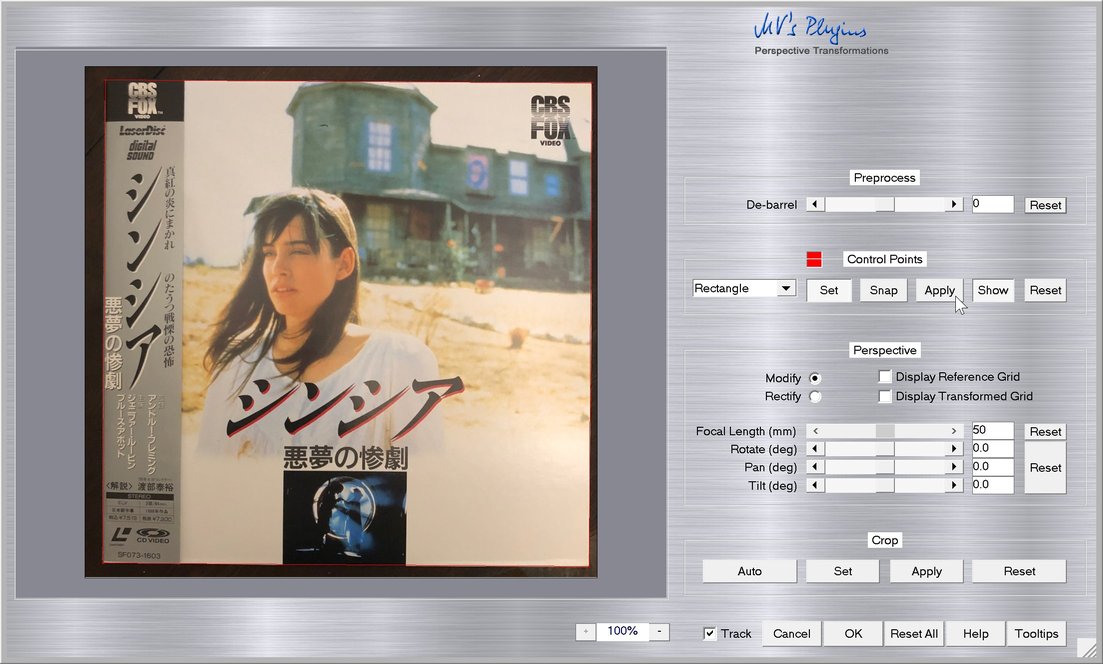
The plugin will try to calculate the best possible transformation to turn whatever shape you drew into a rectangle. Click OK to validate and go back to IrfanView.
Now you can select the aligned sides of the cover perfectly.
Cropping to keep only the cover
Select: Edit => Crop selection (Cutout) or use the Ctrl+Y shortkey.

All right! Now it starts to look better! But we can do a few more thigs to "normalize" it.

Reducing the cover to 800 x 800 pixels
Select: Image => Resize-Resample... or use the Ctrl+R shortkey.

Set:
- New size width: 800 pixels
- New size height: 800 pixels
- Preserve aspect ration (proportional): Uncheck
- Size method: Resample (better quality), use Filter: Lanczos (slowest)
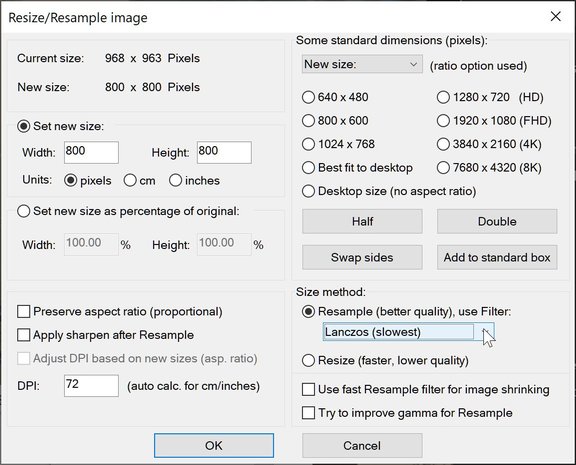
OK we have our 800x800 cover now, let try to make these colors look more natural.

Rebalancing the colors
Select: Image => Auto-adjust colors or use the Shift+U shortkey.

Saving the final version
That's it, we're done! Let's save this final version (File => Save as...)

Set JPEG save quality to 85.
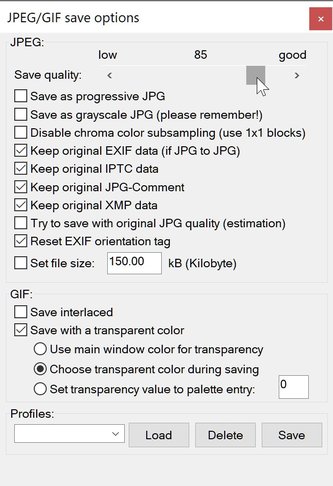
We now have the final cover: 800x800, aligned, cropped, color rebalanced and 93KB file size.

Back cover... same player shoot again
Following the exact same steps, I will transform the back cover...
 into into 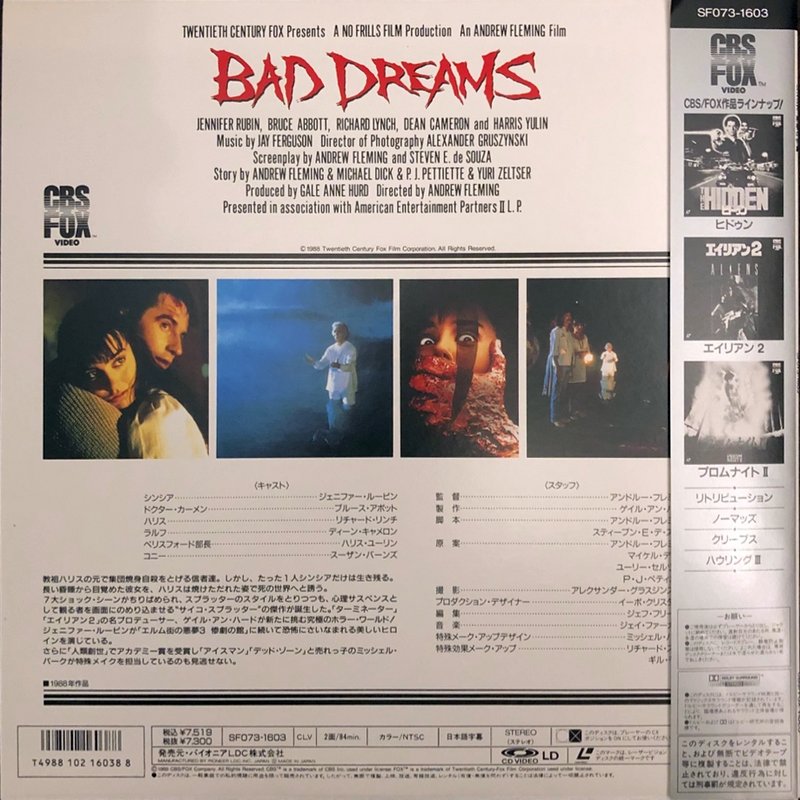
More obvious example of perspective correction
The cover above was only slightly out of alignment but let's play with a more extreme case.
 ... loading the plugin ... ... loading the plugin ... 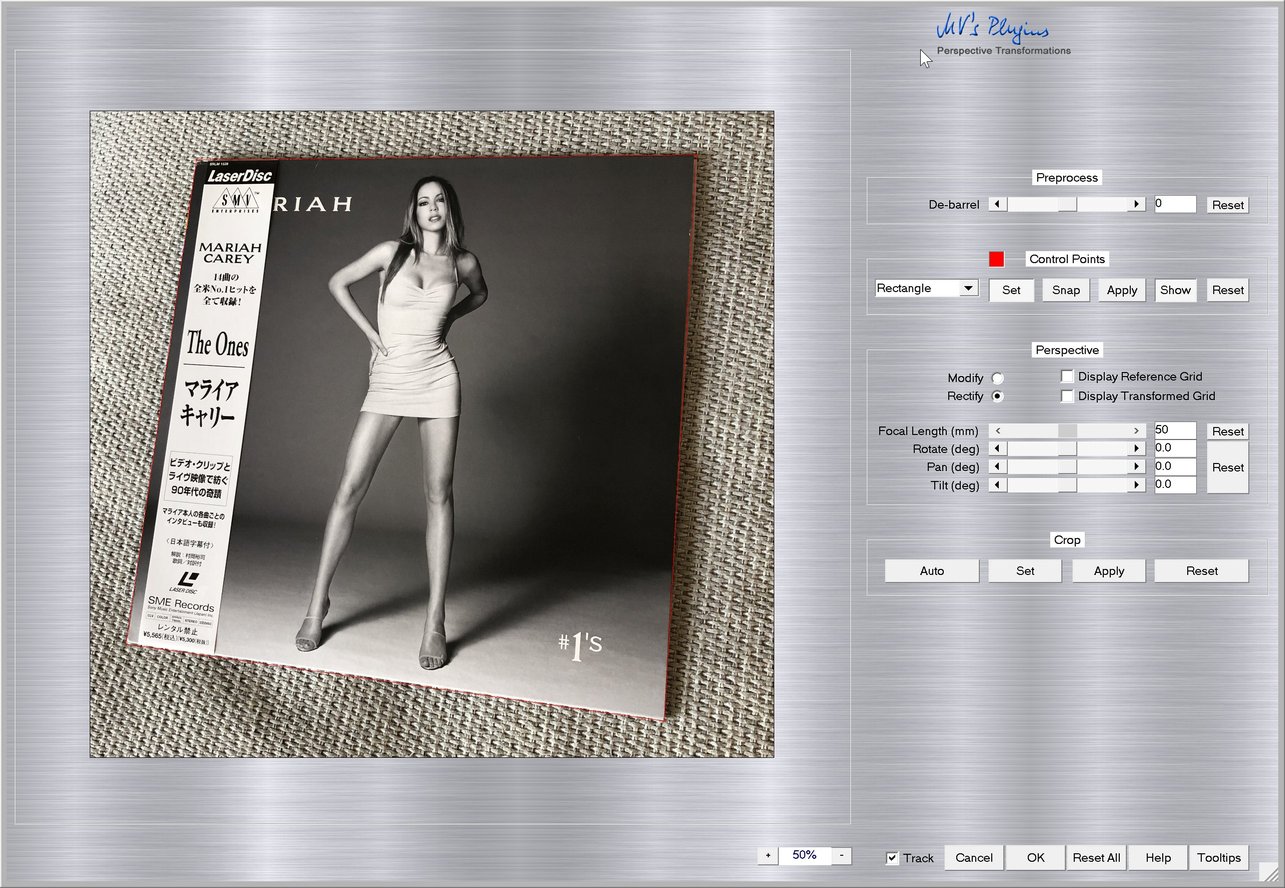
 ... validating adjustements ... ... validating adjustements ... 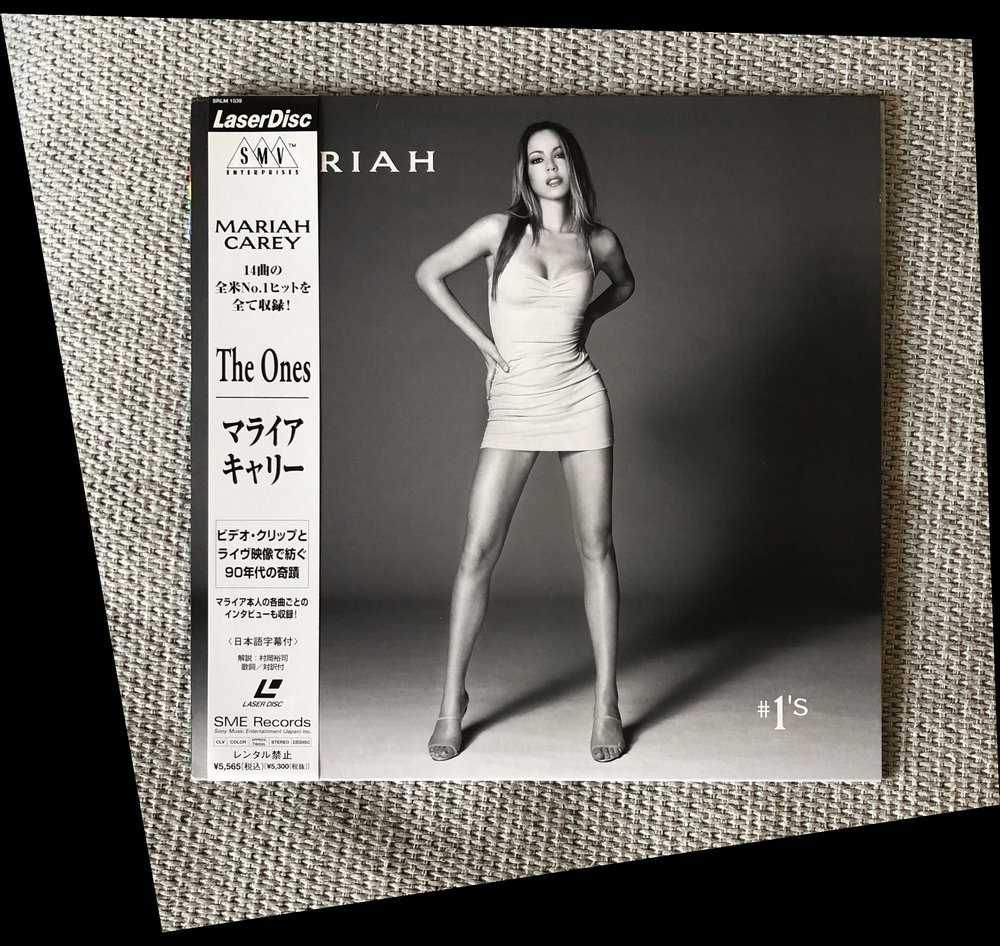
| 


